

How to Pour the Perfect Espresso: A Step-by-Step Guide
Pouring the perfect espresso is a skill that separates a good café from a great one. Whether you’re a new barista getting started or an experienced hand looking to dial things in, the fundamentals stay the same — weigh your dose, time your shot, and adjust your grind.
In this guide, we’ll walk you through exactly how to pour a great espresso every single time, plus how to program the most common on-demand grinders.
What Does Good Espresso Look Like?
Before you start adjusting anything, it helps to know what you’re aiming for — and what to avoid.
Bad Espresso
Bad espresso generally falls into two camps:
- Under extracted — The shot gushes out too fast, looks thin and watery, has a pale colour with little to no crema, and tastes sour or sharp. This usually happens when the shot runs in under 27 seconds.
- Over extracted — The shot drips out painfully slowly, has a very dark crema, and tastes bitter or harsh. This happens when the shot takes over 34 seconds.
I’ve seen coffee pouring in as little as 9 seconds (in actual coffee shops) so it’s not uncommon at all for this to be totally misunderstood.
Good Espresso
A well-pulled espresso:
- Drips at first, then starts pouring in about 6 seconds
- Pours nice and thin, finishing within the 27–34 second range
- Has a thick, velvety, golden-brown crema on top
That’s your target. Now let’s get there step by step.
Step 1 — Weigh Your Ground Coffee
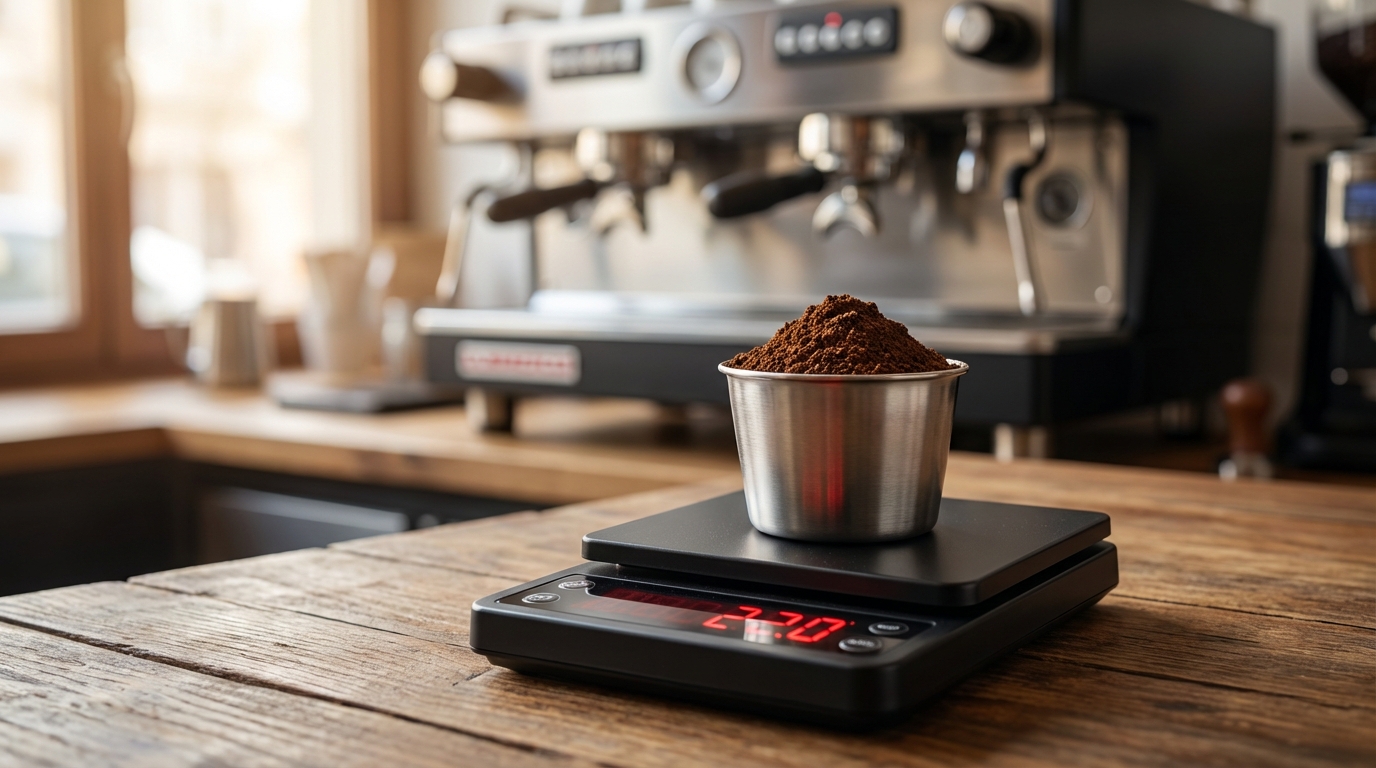
Tare your portafilter on the scale to 0g (or tare a container to hold the ground coffee that you can then move to your portafilter), grind the coffee, and weigh it. You’re aiming for exactly 22g. If it’s a little over, remove some with a tea spoon. If it’s under, add a touch more. Don’t adjust the grinder just yet — that comes later.
Note you must have a good quality scale, that is purpose built for coffee and accurate to .1 of a gram. They are about $100 to purchase.
Quick tip: Make sure the hopper is full. If the grinder is running low on beans, it’ll affect the grind time and give you inconsistent doses.
Step 2 — Pour the Espresso and Time It
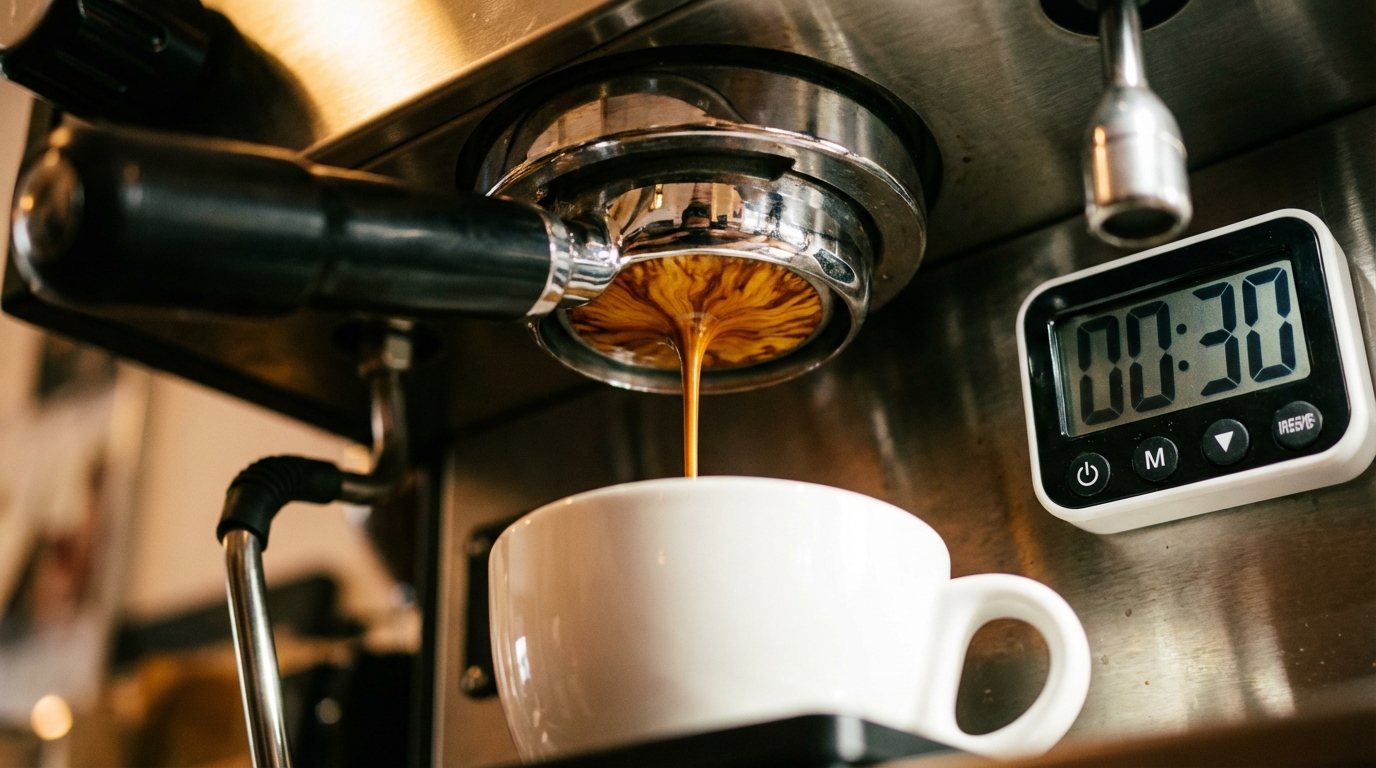
Lock in the portafilter, place your cup underneath, and start the shot. Time it from the moment you press the button — not from when you first see coffee. The target extraction time is 27–34 seconds.
If your shot falls in that window, you’re in the sweet spot. If not, it’s time to adjust.
Step 3 — Adjust the Grind Coarseness
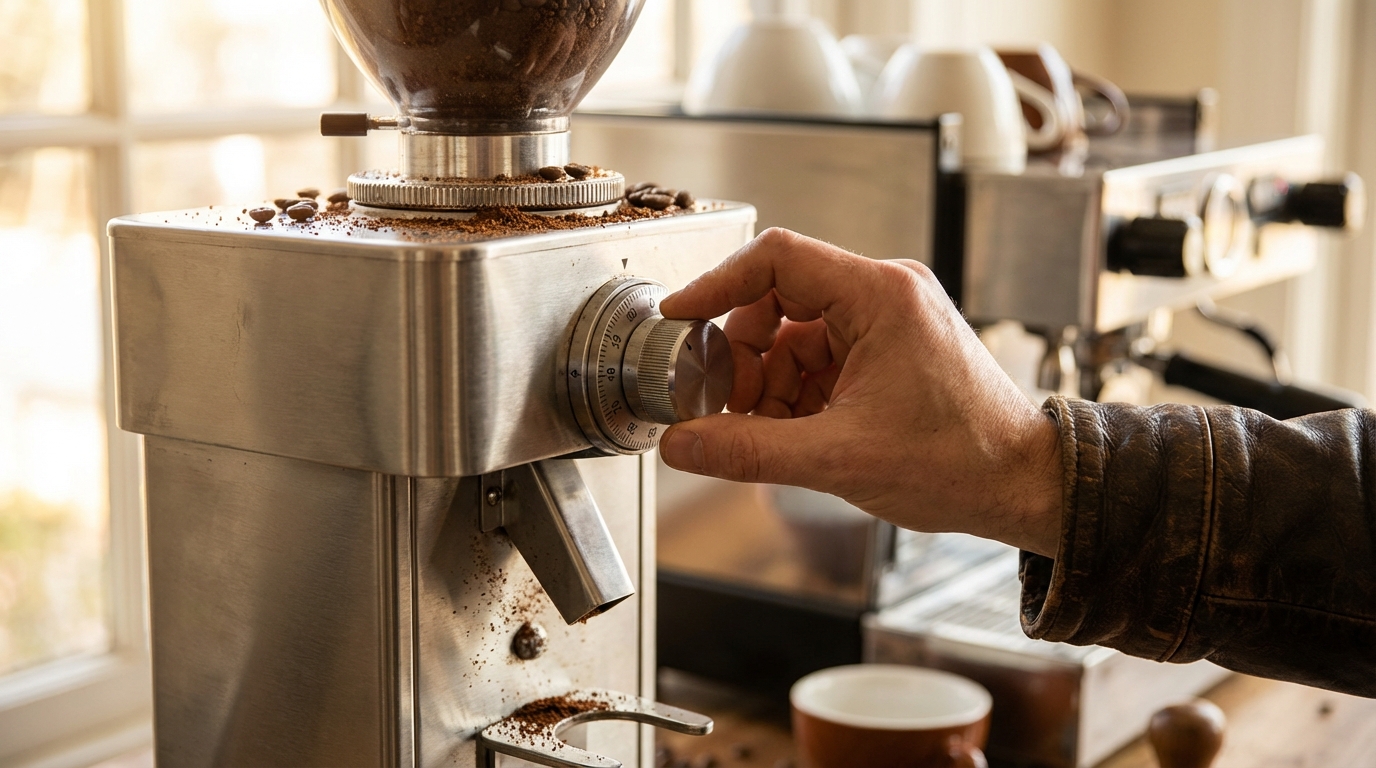
This is where the magic happens. Adjust the coarseness on the grinder dial while grinding the next shot:
| Under 27 Seconds | 27–34 Seconds ✅ | Over 34 Seconds |
|---|---|---|
| Running too fast — adjust the grinder finer | Target range — no adjustment necessary | Running too slow — adjust the grinder coarser |
Important: After adjusting the grind, discard that first shot. It’ll be a mix of the old and new coarseness, so it won’t be accurate. Grind a fresh one, pour it, and time it. Keep repeating until your shot lands in the 27–34 second range.
Step 4 — Adjust the Timer on Your Grinder
Once you’ve nailed the right coarseness, it’s time to fine-tune the grinder’s dose timer so it consistently dispenses exactly 22g.
Grind a shot and weigh it. If it’s more than 22g, reduce the dose time. If it’s less than 22g, increase it. Here’s how to program the most common on-demand grinders:
Compak
- Select the dose button you’d like to adjust (1, 2, or 3) and immediately press OK
- The screen should now be flashing the time in seconds
- Use the 1 button to subtract time or the 3 button to add time
- Press OK to confirm
Mythos
- Use the star (*) button to swap between Dose 1 and Dose 2
- Use the < and > buttons to add or subtract time
- Pro tip: Use Dose 1 as your main recipe and Dose 2 for quick bursts to top up your portafilter when Dose 1 comes up a little short
Macap
- Hold down the round silver button until it enters programming mode
- Use the round silver button as a dial to scroll between dosing programs
- When you find the program you want to change, press the round silver button
- It should now be highlighted or flashing — use the round button as a dial to adjust time up or down
- Press the round silver button to confirm
- Scroll to the exit screen and press the button to exit
That’s It — Rinse and Repeat
Pouring great espresso is a simple process once you’ve got the fundamentals locked in. Weigh your dose, time your shot, adjust as needed. Do this every time you open up or switch beans, and your coffee will be consistently dialled in.
Download the Free Espresso Pouring Guide
☕ Free Download: Espresso Pouring Guides
Get our quick-reference 1-pager and the complete 9-page guide. Enter your email and we’ll take you straight to the downloads.
No spam, ever. Unsubscribe anytime.
If you have any questions or need help dialling in your setup, get in touch with us at East Coast Roast — we’re always happy to help our wholesale partners pour better coffee.